You will need a gmail account to complete this.Your task is simple: carefully following the instructions below, set up a new blog and start adding to it with the tasks at the bottom of this post!
We'll follow these simple steps:
1: sign in to blogger.com with your gmail details
2: click create new blog
3: name the blog - think of it as a film company; do not use your full name
4: create the URL/address, which should be short + based on the blog/company name
5: select the template + set layout
6: adjust widths. So long as you all use the same template + set widths to be the same you can share (copy/paste) posts within a group without any need for further editing. Roughly 1000/300
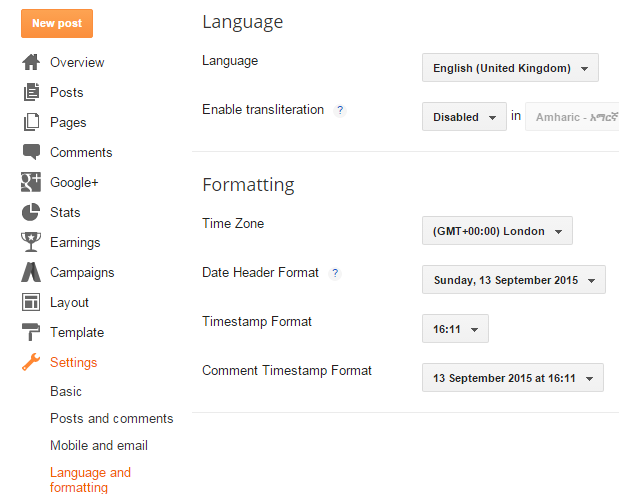
7: change hyperlink colour; time setting; word verification to off; add email + comment moderation note: 'Please note ALL comments are moderated'.
8: email the blog link to me
9: Create your 1st 2 posts + comment on others'
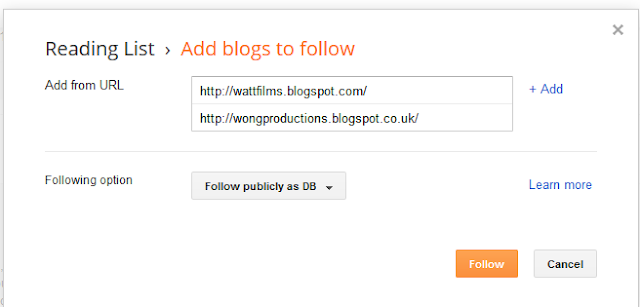
10: Follow this + other blogs8:
Read the following carefully; take the time to think of a brief and memorable URL:
PREVIEWS OF THE BLOGGER SCREENS:
2: Click on Create New Blog
3: For name, think of yourselves as a film company and come up with a SHORT, catchy company name.
4: For address, type in a brief but relevant URL (remember, this will appear on promotional materials; it must also be appropriate for a student). You might have noticed I try to make my blog addresses easy to remember: 'musividz' instead of, say, 'musicvideoa2mediastudiesatschoolname'!
You should end up with a URL like this: http://musividz.blogspot.co.uk/ Don't use spaces in the URL, but do for the blog name.
 |
| See point 5 below. You can view egs of why split-columns cause issues, and further design pointers, at http://musividz.blogspot.co.uk/2012/04/blog-gadgetslayout.html. |
5: TEMPLATE/LAYOUT: Start with one of the 'Picture Window' templates - but not the black colour background, which always causes problems (see here). Add a background image if you wish (you can change this at any time). You can experiment with other options, but must check with me if you do. Click on the column layout shown in the screenshot above.
 |
| Settings for point 5. Makes your blog neat + easy to navigate. |
 |
| The options you get through Template-Customise |
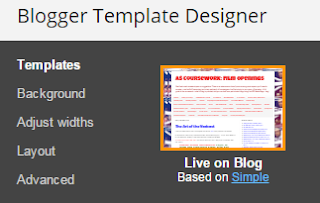
6: ADJUST WIDTHS You need to ensure you make your blog wide enough to avoid problems with embedded video clips and Scribd docs (but not so wide readers on small screens have to keep scrolling left-right). In DESIGN-LAYOUT-TEMPLATE DESIGNER you can 'ADJUST WIDTHS' to 1110 and 370px - see the screenshots above [ask if unsure!]
7: Change links appearance to the traditional dark blue - the blogger templates annoyingly set this to dull colours. See screenshot below.
+ time setting to GMT+1 (if not Lux then a bordering country);
+ word verification to off;
+ add email + comment moderation note: 'Please note ALL comments are moderated'.
 |
| Go through Template-Customise-Advanced-Links to change to these defaults |
8: Once its set up, please email me straight away with the URL of your blog - take this from the browser, NOT your blogger homepage (I will be your first follower!); I'll put up a links list for all here when everyone has done this so you can look at, and comment on, each others' work, throwing your own ideas and reference points into the mix etc
 |
| The URL is the webpage address. Remember: the shorter the better! |
Embed this document at the end of your post. Add the labels brief; coursework guide.
2nd post, title: MY FAVE FILM
This should include, in this order:
HYPERLINKED INSTITUTIONAL DETAILS
- Film title (IMDB) + year of release (font size LARGEST)
- DIRECTOR + year of release
- Main production + US/UK distribution companies (film Wiki link)
- Budget + global box office (boxofficemojo link)
MULTIMEDIA
- embedded trailer (you need to click ONCE on OPTIONS at the side of the blogger editor, select "interpret typed HTML")
- embedded poster with a caption typed in
- screenshot of some part of the boxofficemojo data, with a hyperlinked caption
OPINION
State clearly in at least 3 bullet points or a short paragraph WHY this is your favourite movie. Use font options to make this stand out from the institutional info above + add a clear sub-heading in UPPER CASE.
Go back to the top of your post + add either a quote from the movie or a phrase from your opinion points in large, Georgia, indented [speech mark tool], yellow font/red highlight.
Add a tag ("Labels"): the film title.
COMMENT ON OTHERS' CHOICES!
Use my blog to access the blog hyperlinks. Leave a comment on 1 or more! Don't be rude/personal, but feel free to ... critique their taste in movies!
 |
| I've started adding the 2016 blogs so I can quickly see what is being blogged on. |
ONCE YOU HAVE WORKED THROUGH THE 10 STEPS ABOVE, CHECK:
(A) YOU'VE SET 'WORD VERIFICATION FOR COMMENTS' TO NO + 'COMMENT MODERATION' TO ALWAYS (YOU NEED TO PROVIDE AN EMAIL ADDRESS)
 |
| Your comment settings should look something like this |
 |
| If you get spam comments just click 'mark as spam'; if its from me, note what I've written and publish once you've acted on this. You can check on comments at any time in your dashboard. |
(B) TIME TO GMT (select YOUR timezone) (and, yes, i do know I've repeated this!)
POSTS TO CREATE:
Once your blog is set up, changes made, and you've emailed me, make a start on these initial posts (post title):
1: Welcome to my blog! (introduce yourself; say a little about your hopes + expectations [what you think you'll do/learn/gain] of Media Studies. Feel free to add any suitable-for-school image that helps illustrate your character)
2: The Brief (look on either past student blogs or this blog (top links list/blog description) to find and copy/paste the exact wording of this)
3: Initial Reflections on Media Coursework (Browse through any past student blogs. Including some captioned screenshots, a hyperlink to that blog, and that student's final cut embedded as a playable video, briefly sum up your initial thoughts + findings - anything impressed you; scared you?!; things you look forward to learning? [etc])


No comments:
Post a Comment